Stop Leaking Your API Keys - Implementing a Next-Level GraphQL Proxy
In the world of Web3, developer experience often clashes with security. We want to build fast, reactive dApps, but we often leave our frontends vulnerable by exposing sensitive API keys in the client-side bundle.
If you are building a dApp that relies on subgraphs, you've likely dropped an API key into a .env file and called it a day. But if that key is used in a client-side fetch, anyone with a "Network Tab" and a bit of curiosity can steal it.
Here is how to implement an API Proxy to take your dApp security to the next level.
The Problem: The "Client-Side Leak"
When you query a subgraph directly from a React, Vue, or vanilla JavaScript frontend, your API key is included in the request. This leads to three major risks:
- Visibility: The key is plain to see in the browser's developer tools.
- Theft: Malicious actors can "sniff" your key and use it to query data on your budget.
- Spoofing: Even with domain restrictions, headers can occasionally be spoofed, and keys can be used in scripts outside your website.
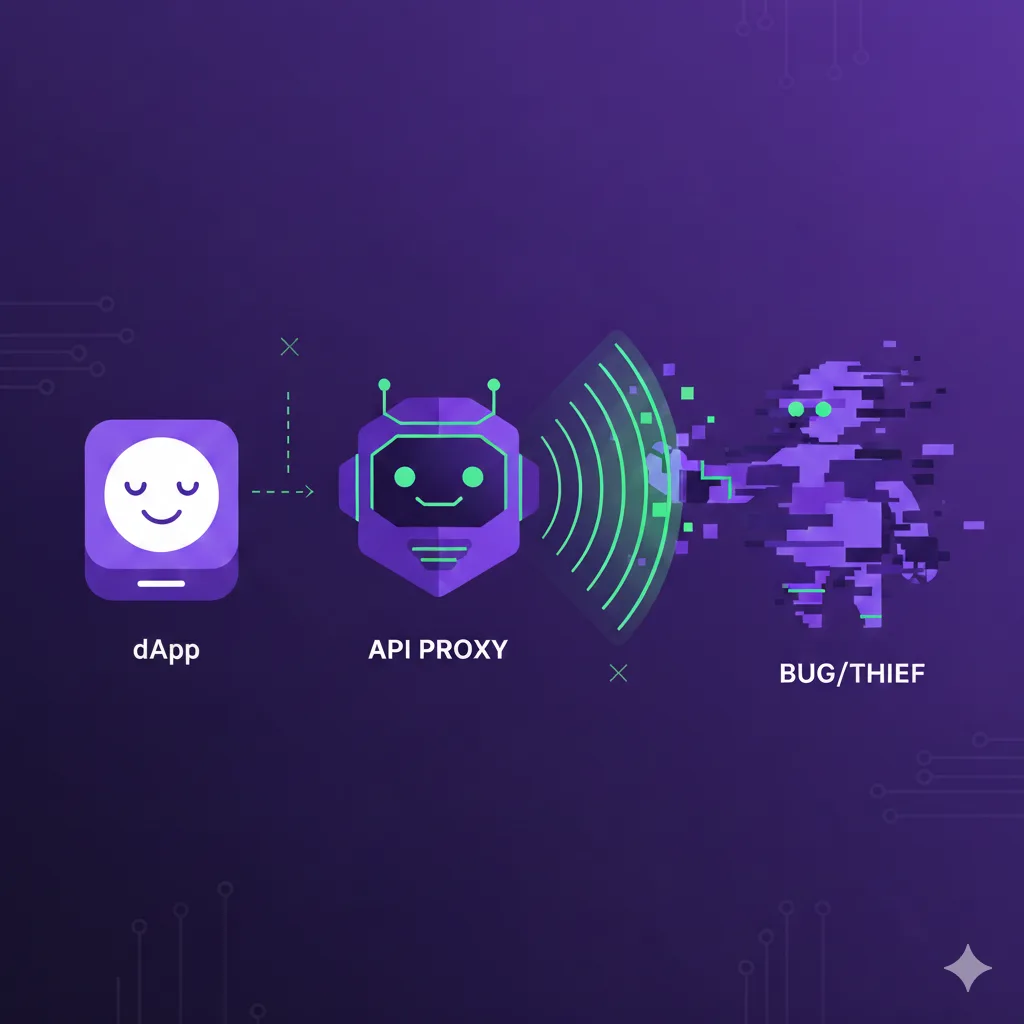
The Solution: The API Proxy
Instead of the browser talking directly to a decentralized gateway or an indexer, we introduce a middleman: our own server.
The flow changes from:
- Old Way: Client → Subgraph Gateway (Key Leaked)
- Secure Way: Client → Your Server (Proxy) → Subgraph Gateway (Key Hidden)
Step 1: Secure Your Environment Variables
First, create a central environment manager. This uses @t3-oss/env-nextjs and Zod to validate your keys at build time and runtime.
Create your .env.local file:
⚠️ Don't use the
NEXT_PUBLIC_prefix for sensitive keys.
Step 2: Create the API Proxy Route
1. Define the Validation Schema
To prevent malicious actors from sending malformed requests to your proxy, we use Zod to validate the incoming request body. This ensures the "shape" of the GraphQL query is correct before we even attempt to forward it.
2. Initialize the Hidden GraphQL Client
On the server side, we initialize the GraphQLClient. This client is configured once with your protected URL and the Authorization header.
3. Create the Proxy Logic
Now, we create a central process function. This function handles the validation, the execution, and the error reporting. By using safeParse, we can return a clean 400 Bad Request if the frontend sends something invalid.
4. Export the API Handlers
Finally, we expose this logic via GET and POST methods in our Next.js route file. This allows your frontend to fetch data using standard HTTP methods.
Step 3: The "Dual-Client" Optimization
Now that our proxy route is live, we face a new challenge: Efficiency.
When Next.js renders a page on the server (SSR), it shouldn't have to make an HTTP request to its own API route — that's like calling your own house from the kitchen to ask what's for dinner. Instead, we want our server to talk directly to the Subgraph, while the browser continues to use the Proxy.
1. Creating the SSR Client (Server-Only)
Create a client that is only ever used on the server. Because this code never touches the browser, it is safe to use the secret API key and the direct Subgraph URL.
2. Creating the Browser Client (Proxy-Only)
This client is designed for your 'use client' components. It is hardcoded to point to the /graphql route we just built.
Step 4: Writing Universal Fetchers
The "Next Level" secret is making your data-fetching logic Client-Agnostic. You don't want to write one function for the server and one for the browser. Instead, you write a single function that accepts any GraphQLClient.
For better DevEx and better type safety, you should export your queries from a dedicated graphql/queries.ts file using the GraphQL Code Generator client-preset:
Step 5: Implementing in the UI
Now, you simply "inject" the correct client based on where your code is running.
⚠️ Make sure to use the correct client, based on the rendering context, or the app will crash.
Extra Step: Prefetching on the Server
To get the best possible performance, you should prefetch your data on the server using TanStack Query. This allows you to "prime" the cache so that the data is already there when the client-side React components mount.
Why This Matters
Security in Web3 isn't just about the smart contract; it's about the infrastructure that connects your users to that data. By hiding your API keys behind a proxy, you move from a "vulnerable-by-default" setup to a professional, hardened architecture.
References
-
Next.js API Routes Documentation
- https://nextjs.org/docs/app/building-your-application/routing/route-handlers
- Official guide for creating API routes in Next.js
-
GraphQL Request Documentation
- https://github.com/jasonkuhrt/graphql-request
- Lightweight GraphQL client library
-
Zod Schema Validation
- https://zod.dev
- TypeScript-first schema validation library
-
T3 Env - Environment Variable Validation
- https://env.t3.gg
- Type-safe environment variable management for Next.js
-
TanStack Query Documentation
- https://tanstack.com/query/latest
- Powerful async state management library